Getting Started with Video API in React Native
If you’re using React or React Native to build your video applications, you’ll be glad to know that SignalWire unofficially hosts a community repo with useful React abstractions for SignalWire Video services. You might choose to use these as reference implementations for your advanced applications, but for most requirements, these components and tools will more than suffice. This tutorial will guide you through creating a basic video conference application.
Find it at the Browser SDK Reference section.
About Native Code
React constitutes the view layer of applications, so it requires and provides minimal access to the system features. To work with system APIs for mobile devices, you will inevitably need to work with native code written in Kotlin, Java, or similar. Fortunately, a lot of this useful native code has already been written, and their interfaces are exposed to React Native so that you can use these libraries instead.
WebRTC is one of those native features. It is what makes video streaming work, and is one of the dependencies SignalWire Video APIs use to connect to their servers. It requires some code to be written natively.
What this means for us as application developers is that we cannot rely on the comforts of Expo CLI,
and must set up the entire Android development environment and compile our own code. If you’re new to this, go ahead and set up the React Native CLI Quickstart from this page.
We will still be using Expo, but we will be using a development build instead of the Expo Go application.
Setting up the Project
Start by creating or navigating to an empty folder for your project and enter the following command on your terminal:
npx create-react-native-app --template https://github.com/signalwire-community/rn-template
This will set up a custom Expo development build from a template that is preconfigured for using WebRTC.
After it downloads and installs the template, we’ll need to install a few packages to get SignalWire React packages to work:
yarn add @signalwire-community/react-native react-native-get-random-values
The setup is done. Let’s write a quick program to see if this works. Replace the contents of the App.js root file with the following:
const TOKEN = "<Insert a Room Token here (see section below)>";
import { SafeAreaView } from "react-native";
import { Video } from "@signalwire-community/react-native";

function App() {
  return (
    <SafeAreaView>
      <Video token={TOKEN} />
    </SafeAreaView>
  );
}

export default App;
Getting a Room Token
A room token authorizes your video conference participants to connect to SignalWire servers. You will need to provide a token for each participant on the video call via the Video Rest API. For more on that process, refer to the Getting Started with Video APIs
For demo purposes, feel free to use the following token. We maintain this particular room and its token as a demo for our guides, so expect to run into other developers here.
eyJ0eXAiOiJWUlQiLCJjaCI6InJlbGF5LnNpZ25hbHdpcmUuY29tIiwiYWxnIjoiSFM1MTIifQ.eyJpYXQiOjE2NjAyODA0ODUsImp0aSI6ImE4NTc5MzU2LTc0NGItNGM5OS05NWQ2LTZhMTY4YmEyNTFhZCIsInN1YiI6IjUwNmNlYTMzLWViNDctNGI1Ni04MmIwLWQzYzVhZmFmMzlkNCIsInUiOiJxdWlja3Rva2VudXNlciIsImphIjoibWVtYmVyIiwiciI6InJvb20iLCJzIjpbInJvb20ubGlzdF9hdmFpbGFibGVfbGF5b3V0cyIsInJvb20uc2VsZi5hdWRpb19tdXRlIiwicm9vbS5zZWxmLmF1ZGlvX3VubXV0ZSIsInJvb20uc2VsZi52aWRlb19tdXRlIiwicm9vbS5zZWxmLnZpZGVvX3VubXV0ZSIsInJvb20uc2VsZi5kZWFmIiwicm9vbS5zZWxmLnVuZGVhZiIsInJvb20uc2VsZi5zZXRfaW5wdXRfdm9sdW1lIiwicm9vbS5zZWxmLnNldF9vdXRwdXRfdm9sdW1lIiwicm9vbS5zZWxmLnNldF9pbnB1dF9zZW5zaXRpdml0eSIsInJvb20uaGlkZV92aWRlb19tdXRlZCIsInJvb20uc2hvd192aWRlb19tdXRlZCJdLCJhY3IiOnRydWUsIm1hIjoiYWxsIiwiZXJwIjp0cnVlLCJtdGEiOnt9LCJybXRhIjp7fX0.ke-qPuTmp6tUOgdHMHv_i82PjuWQgr8lsX_VRS_Krq4nwYt3REGhSn1p68N3gXTXxp7DGd6dIJIzJwjVZvdDmA
Running the App
Once you have placed the token in the code above, you’re ready to start the application. To do so, use the following command:
yarn android
This will compile the application, generate an Android apk file, and install this on your emulator. If you encounter errors during this process, it is likely that the Android development environment is not properly set up. Consult the React Native CLI Quickstart to fix errors.
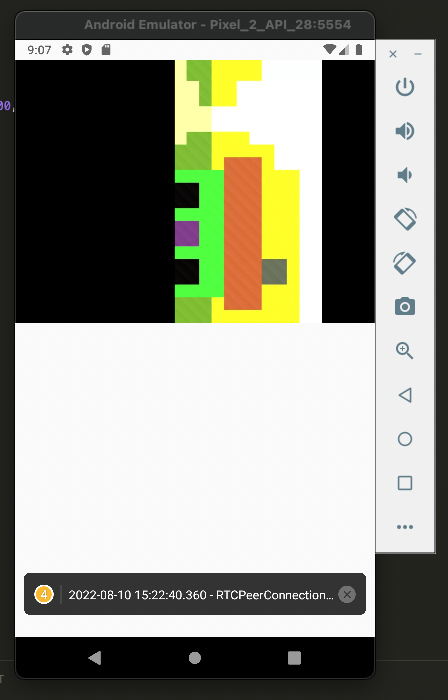
If all goes well, you'll be greeted with a page like the one pictured below. On the first run, it might ask you a few permissions: To record audio and to record video. Afterwards, you’ll be greeted with a page like the one in the picture. That little Android is the simulated webcam. To try the real thing, install this application on your mobile phone.
If you run this app both on your emulator and on your mobile phone (or two phones for that matter), you should see a video feed of both phones at once.
If you’re feeling especially adventurous, use this live in-browser demo to quickly start a web version of the same call (walk through creating that web version in First Steps with Video). You’ll find yourself in a video call with yourself from your browser and your mobile app.
This goes without saying, but make sure the emulator has its WiFi turned on so it can connect to the internet.

Adding Controls and Displaying the List of Members
The hooks will be explored thoroughly in the article Using Hooks to Track Call State. For now, as an introduction, the following code example samples a common use case: a video conference with basic controls and a member list.
import { SafeAreaView, View, Button, Text } from "react-native";
import { Video } from "@signalwire-community/react-native";
import { useMembers, useStatus } from "@signalwire-community/react";
import { useState, useCallback } from "react";

export default function DemoVideo() {
  const [roomSession, setRoomSession] = useState(null);
  const onRoomReady = useCallback((rs) => setRoomSession(rs), []);

  const { self, members } = useMembers(roomSession);
  const { active } = useStatus(roomSession);

  return (
    <SafeAreaView>
      <Video token="<Video Token Here>" onRoomReady={onRoomReady} />

      {/* Populating controls for self */}
      <View
        style={{
          flexDirection: "row",
          justifyContent: "space-between",
          flexWrap: "wrap",
        }}
      >
        {["audio", "video", "speaker"].map((io) => (
          <Button
            onPress={self?.[io].toggle}
            disabled={!active}
            title={`${self?.[io].muted ? "Unmute " : "Mute "} ${io}`}
          />
        ))}
      </View>

      {/* Displaying member list */}
      <Text style={{ fontWeight: "bold" }}>Members:</Text>

      {members.map((member) => (
        <View>
          <Text>{member.name}</Text>
          <Text>{member.talking && "🗣"}</Text>
        </View>
      ))}
    </SafeAreaView>
  );
}

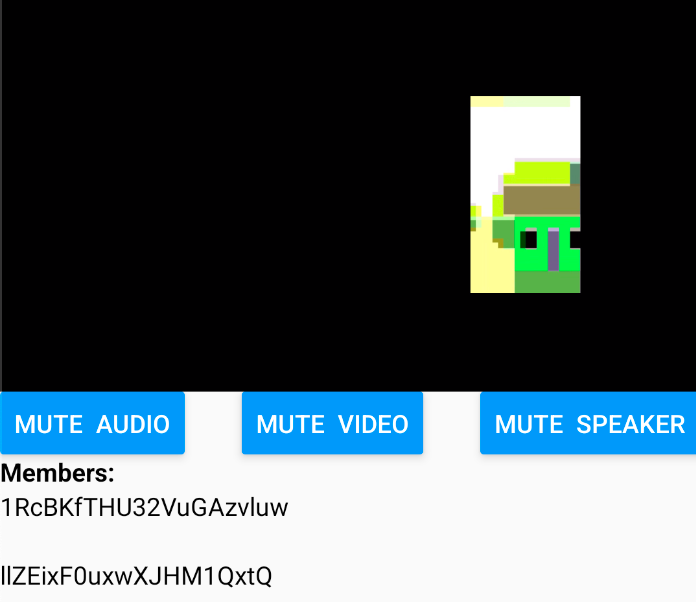
The Video element and it's controls. Result of the code example above.
Wrapping up
We have set up a React Native project and created a simple video conference application. This will be a great starting point for later explorations. But for now this is as far as we'll go. Check out the Github Repo for this project here.
If you need to, you can also take a look at the technical reference for @signalwire-community/react-native.
The natural continuation from here would be to follow the Using Hooks to Track Call State guide. We have already done most of the platform specific setup here, so, apart from the cosmetic details, the logic will remain the same for React or React Native from here onwards. Also, we invite you to explore and consider contributing to the SignalWire Community Repository. These components, and more, come from the community.